Junk removal can be an overwhelming task without proper preparation. Whether you’re moving, decluttering, or simply trying to reclaim your space, following a structured approach ensures a smooth and stress-free experience. This guide provides a comprehensive strategy for preparing your home for junk removal, covering everything from planning to execution.
Understanding the Importance of Preparation
Preparation plays a key role in making the junk removal process efficient, stress-free, and cost-effective. Proper planning can save time, reduce costs, and even increase your contribution to sustainable disposal practices. By organizing ahead, you can ensure a more streamlined and less stressful process for everyone involved.
Benefits of an Organized Junk Removal Process
- Saves Time: A well-organized approach minimizes delays and ensures all tasks are completed efficiently.
- Cost-Effective: Properly sorted items can lower disposal costs, as recyclable or donatable items are separated from general junk.
- Stress Reduction: Knowing what needs to be done and having a plan in place makes it easier to manage the workload and ensures everything runs smoothly.
Step-by-Step Guide to Preparing for Junk Removal
1. Assess Your Junk Removal Needs
Identifying Items to Discard
The first step is to walk through your home and identify items you no longer need. This assessment should be as thorough as possible. Check every room, closet, and storage space. Consider items like:
- Old or broken furniture
- Expired pantry goods
- Outdated electronics
- Clothing that no longer fits or is out of style
- Unused or broken household appliances
Sorting Items by Category
Once you’ve identified what to get rid of, sort items into categories. This approach helps make the removal process easier and more efficient. Categories might include:
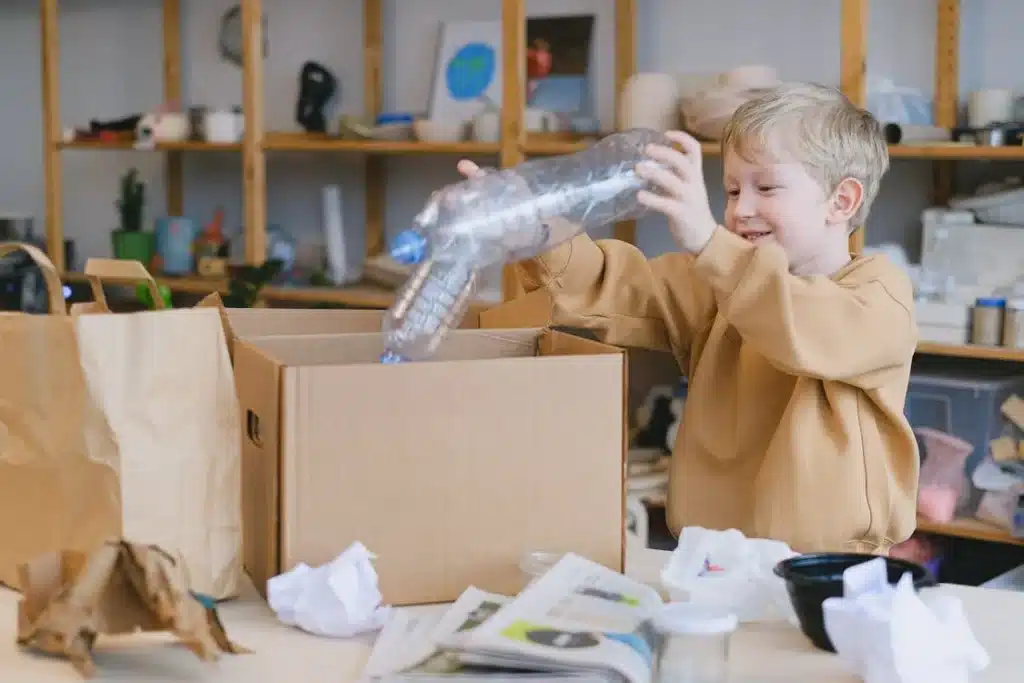
- Recyclables: Paper, plastic, glass, metals, and electronics. Check local guidelines for recycling.
- Donations: Items in good condition that can be used by others, such as clothes, toys, or furniture.
- Hazardous Materials: Chemicals, batteries, paint, and other substances that require special disposal.
- Bulk Trash: Large items like mattresses, couches, and broken appliances.
2. Create a Junk Removal Timeline
Setting a Decluttering Schedule
Creating a timeline is crucial to avoiding last-minute panic. Start the decluttering process early and break it into manageable chunks. Set goals for each day or week based on the size of your project. Here’s a sample schedule:
- Week 1: Tackle kitchen items, removing expired pantry goods, old appliances, and unused dishes.
- Week 2: Move on to bedrooms, clearing out clothing, accessories, and miscellaneous storage.
- Week 3: Declutter the garage, basement, attic, and any other storage spaces. This staggered approach helps prevent burnout and ensures a thorough decluttering process.
Scheduling Your Junk Removal Service
Once you’ve assessed and sorted your items, contact your junk removal service to schedule an appointment. Ensure you book a time that works best for you, allowing ample preparation time before their arrival.
3. Decluttering Tips for a Smooth Process
Room-by-Room Decluttering Strategies
Tackling one room at a time prevents you from feeling overwhelmed and ensures nothing is missed. Here are some strategies for major areas:
- Kitchen: Clear out expired food, broken cookware, and unused gadgets. Consider donating any unopened, non-perishable food items to local charities.
- Bedroom: Go through clothing and shoes, donating or discarding items you no longer wear. Clean out under-bed storage, nightstands, and closets.
- Living Room: Get rid of old furniture, electronics, DVDs, and decor that no longer fits your style.
Setting Realistic Goals and Sticking to Them
Define what you hope to accomplish each day or session. For example, aim to clear one closet or fill a minimum of one large trash bag. Small, consistent progress adds up over time.
4. Preparing Items for Collection
Separating Hazardous Materials
It is important to identify and properly separate hazardous materials, as they require special handling and disposal. Examples include:
- Paints, solvents, and chemicals
- Batteries
- Fluorescent light bulbs
- Electronic waste (e-waste)
Contact your local waste management authorities to learn about proper disposal procedures for hazardous materials.
Bundling and Labeling Items
Labeling boxes, bags, or containers helps streamline the collection process for both you and your junk removal team. Consider using color-coded labels to indicate:
- Green: Recyclables
- Blue: Donations
- Red: Trash
Creating a Staging Area for Junk
Choose a designated space, like your garage or driveway, to temporarily store items awaiting pickup. This staging area keeps your main living spaces clear and allows the junk removal team to work more efficiently.

Communicating with Your Junk Removal Service
Providing Clear Instructions
Before your service arrives, provide any special instructions, such as handling fragile items or navigating multi-story homes. A walkthrough can be helpful to ensure all expectations are communicated clearly.
Establishing Priorities
Identify priority areas or specific items that need urgent attention, such as large furniture or items requiring special disposal.
Essential Supplies for Junk Removal Preparation
Checklist for Getting Ready
- Sturdy moving boxes or storage bins
- Heavy-duty trash bags
- Packing tape
- Safety gloves
- Markers for labeling
- Cleaning supplies for post-removal cleanup
Common Mistakes to Avoid When Preparing for Junk Removal
Procrastinating Until the Last Minute
Delaying the process creates unnecessary stress and limits your ability to organize effectively. Start as early as possible to ensure a smooth process.
Failing to Sort Items Properly
Mixed piles of items can slow down the removal process and increase costs. Take the time to sort your belongings.
Ignoring Hazardous Waste Rules
Be aware of local regulations regarding hazardous waste disposal. Failing to do so can lead to safety issues and fines.
Maximizing the Benefits of Junk Removal Services
Creating an Efficient and Organized Space
Removing unwanted items allows you to reclaim valuable living space. Consider repurposing cleared areas into functional spaces such as:
- A home office
- An exercise area
- Storage solutions for seasonal items
Table: Recommended Disposal Methods by Item Type
| Item Type | Recommended Disposal Method | Notes |
| Electronics (e-waste) | Recycle through certified programs | Many facilities offer free drop-off for e-waste. |
| Clothing & Textiles | Donation to charity | Items should be clean and in usable condition. |
| Hazardous Chemicals | Special hazardous waste disposal | Check local regulations for disposal sites. |
| Furniture | Junk removal service or donation | Reuse or donate if possible before disposal. |
| Paper & Cardboard | Regular curbside recycling | Flatten boxes to save space and streamline pickup. |
Efficient Packing and Disposal Techniques
Using Eco-Friendly Materials
Consider the environmental impact of your packing materials. Use biodegradable packing products or recyclable boxes whenever possible.
Safe Lifting and Handling Tips
Heavy items can pose a risk if not handled correctly. Follow these safety tips to minimize injuries:
- Lift with your legs, not your back: Keep your back straight and bend your knees when lifting.
- Wear gloves: Protect your hands from sharp or rough surfaces.
- Use moving equipment: Consider using dollies or sliders for heavy items.
4 Tips for a Smooth Junk Removal Day
- Be Ready Early
Have everything prepared and ready for removal before the scheduled time. - Clear Pathways
Make sure walkways, hallways, and stairs are free of obstacles to ensure safe and efficient movement. - Double-Check for Forgotten Items
Inspect cabinets, drawers, and hidden storage areas one last time before the team arrives. - Separate Valuables and Important Documents
Keep valuables, important papers, and personal effects in a separate, secure area.
Handling Special Situations
Dealing with Large Appliances
Unplug and empty large appliances, such as refrigerators or washing machines, before removal. Consider taping doors shut for added safety.
Managing Fragile Items
Wrap fragile items in bubble wrap or other protective padding. Clearly mark boxes containing fragile items to alert the junk removal team.
Navigating Multi-Floor Homes
If your home has multiple floors, ensure the junk removal team has a clear and safe path to move items down stairs or through elevators. You may want to provide a brief overview of any tricky areas.
After the Junk Removal Service
Reassessing and Reimagining Your Space
With the clutter gone, you can reimagine your space. Create a functional, beautiful room that meets your current needs. Consider:
- Installing new storage solutions
- Setting up a home office or study area
- Enhancing your living room with minimalist decor
Cleaning Up Residual Dust and Debris
Take time to clean areas previously blocked by clutter. Vacuum, dust, and mop as needed for a fresh start.

FAQs About Preparing for Junk Removal
- What should I do with valuables before junk removal?
Secure valuables in a separate, safe location to avoid accidental disposal. - Can I donate items instead of discarding them?
Absolutely. Many items can find new homes through donation to local charities. - How do I prepare heavy furniture for junk removal?
Disassemble if possible and clear surrounding areas for easier access. - Are there items you don’t take?
Restrictions typically include hazardous waste. Contact us for more details. - Is junk removal environmentally friendly?
Our team prioritizes recycling and donation whenever possible to reduce landfill waste.
Contact A#1 Junk Removal
Ready to reclaim your space and transform your home? Contact A#1 Junk Removal today to schedule a hassle-free, professional junk removal service. Our expert team is prepared to handle everything from bulky furniture to recyclables with care and efficiency. Let us do the heavy lifting so you can enjoy a cleaner, more organized living space!